White walls are timeless. They make rooms feel larger, brighter, and cleaner but they also show everything. Scuff marks, fingerprints, dust, food splashes, and mystery stains all seem to gravitate toward white paint. The challenge? Cleaning those walls without stripping, fading, or damaging the paint.
Many people make the mistake of scrubbing too hard or using harsh chemicals, only to end up with dull patches, peeling paint, or uneven coloring. The good news is that with the right tools, techniques, and a little patience, you can restore your white walls to their original beauty safely.
This comprehensive guide will walk you through how to clean white walls properly, step by step, using gentle methods that preserve your paint finish.
Why White Walls Need Special Care
Painted interior walls, particularly white ones, require more maintenance than most people expect because they show imperfections quickly. Different paint finishes flat, matte, eggshell, satin, semi-gloss, and gloss—each respond differently to cleaning methods, moisture, and friction. Understanding these differences is important for preserving appearance and preventing accidental surface damage during routine cleaning.
White paint is especially vulnerable because:
- Dirt is more visible
- Over-scrubbing causes discoloration
- Some cleaners leave yellow or gray residue
- Flat and matte finishes absorb moisture easily
Understanding these factors helps prevent permanent damage while cleaning.
Step 1: Identify Your Paint Finish
Before you begin any cleaning process, it is essential to accurately identify the type of paint finish on your walls, as this determines how the surface will respond to moisture, cleaning agents, and pressure. Different finishes have varying durability levels, and using the wrong technique can permanently damage or dull the paint.
- Flat or matte: Least durable, stains easily, cannot handle heavy scrubbing
- Eggshell or satin: More durable, tolerates light cleaning
- Semi-gloss or gloss: Most durable, easiest to clean
If you’re unsure, test a small hidden area with a damp cloth and gentle pressure.
Step 2: Remove Dust and Loose Dirt First
Always avoid applying water or cleaning solutions directly at the start of the process, because loose dust and grit particles can behave like abrasive sandpaper when rubbed against the wall surface. This can lead to scratches, dull patches, or paint erosion. Proper dry cleaning first ensures a safer and more effective result.
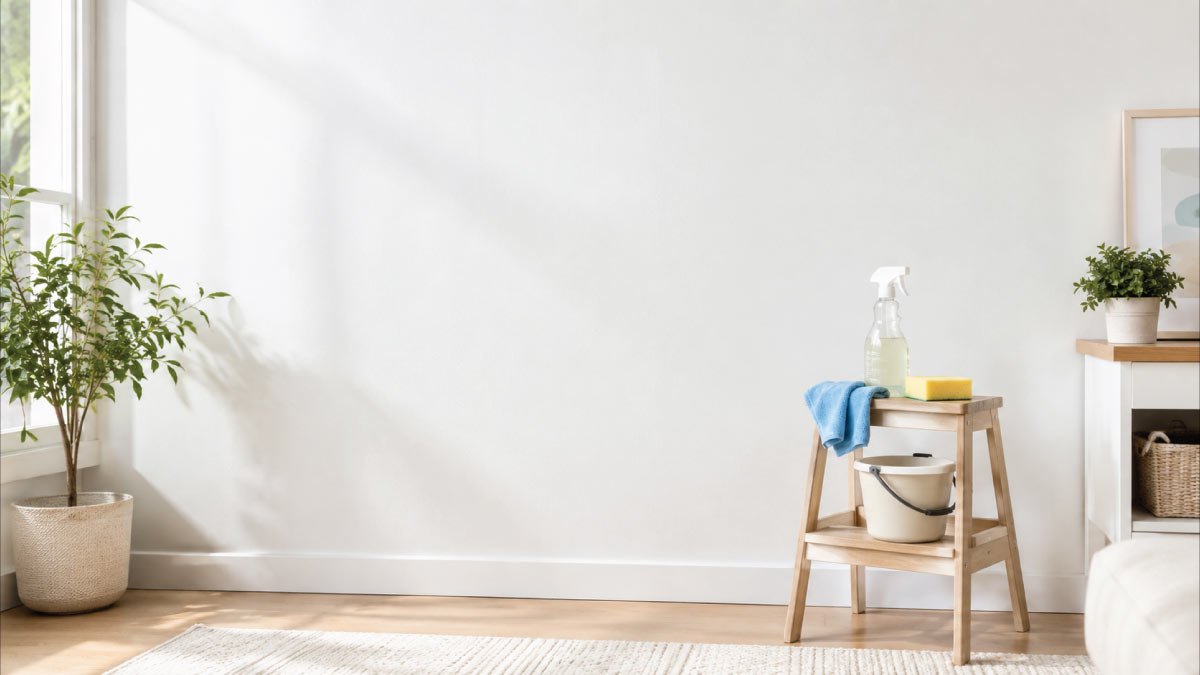
What You’ll Need:
- Microfiber cloth
- Soft duster
- Vacuum with brush attachment
How to Do It:
- Start at the top of the wall and work downward
- Lightly wipe or vacuum corners, trim, and baseboards
- Pay attention to areas near ceilings and vents
This step alone can dramatically improve the appearance of white walls.
Step 3: Prepare a Gentle Cleaning Solution
Using the right cleaning solution is crucial because white painted walls can easily react to strong chemicals by fading, yellowing, or losing their smooth finish. Harsh cleaners are not needed for everyday dirt. Instead, mild, diluted mixtures are safer, more effective, and help maintain the original paint quality over time.
Safe DIY Cleaning Solutions
Choosing the right cleaning solution is important because white painted walls are sensitive to harsh chemicals. Mild, diluted homemade mixtures are usually enough to remove everyday dirt without damaging the paint finish, leaving streaks, or causing discoloration over time.
Option 1: Dish Soap Solution (Best for General Dirt)
This is the safest and most commonly used solution for routine wall cleaning. It gently lifts dust, fingerprints, and light smudges without harming most paint finishes when properly diluted. Always mix lightly to avoid leaving soap residue on the surface.
- 1 quart warm water
- 1–2 drops mild dish soap
Option 2: Vinegar Solution (Best for Grease or Odors)
Vinegar helps break down light grease and neutralize odors, making it especially useful in kitchens or areas with poor ventilation. It should always be diluted to prevent any risk of dulling the paint or leaving a strong smell behind after cleaning.
- 1 quart warm water
- 1 tablespoon white vinegar
Option 3: Baking Soda Paste (Spot Cleaning Only)
Baking soda works as a gentle abrasive for small, stubborn stains, but it should only be used in targeted areas. Applying it as a paste helps control its strength and reduces the risk of damaging the surrounding paint.
- Baking soda + water to form a paste
Avoid bleach, ammonia, and abrasive cleaners—they can strip paint and cause yellowing.
Step 4: Use the Right Cleaning Tools
Even the best cleaning solution can damage walls if used with the wrong tools, so selecting soft, non-abrasive materials is essential. White paint surfaces are especially sensitive to scratching and texture changes, meaning gentle wiping tools help preserve the finish while still removing dirt effectively and safely.
Best Tools for Cleaning White Walls
- Soft microfiber cloths
- Non-abrasive sponges
- Soft foam sponges
What to Avoid
- Scrub brushes
- Steel wool
- Rough sponges
- Paper towels (can leave residue and scratch paint)
Always wring out cloths thoroughly bwalls should be damp, not wet.
More Info:
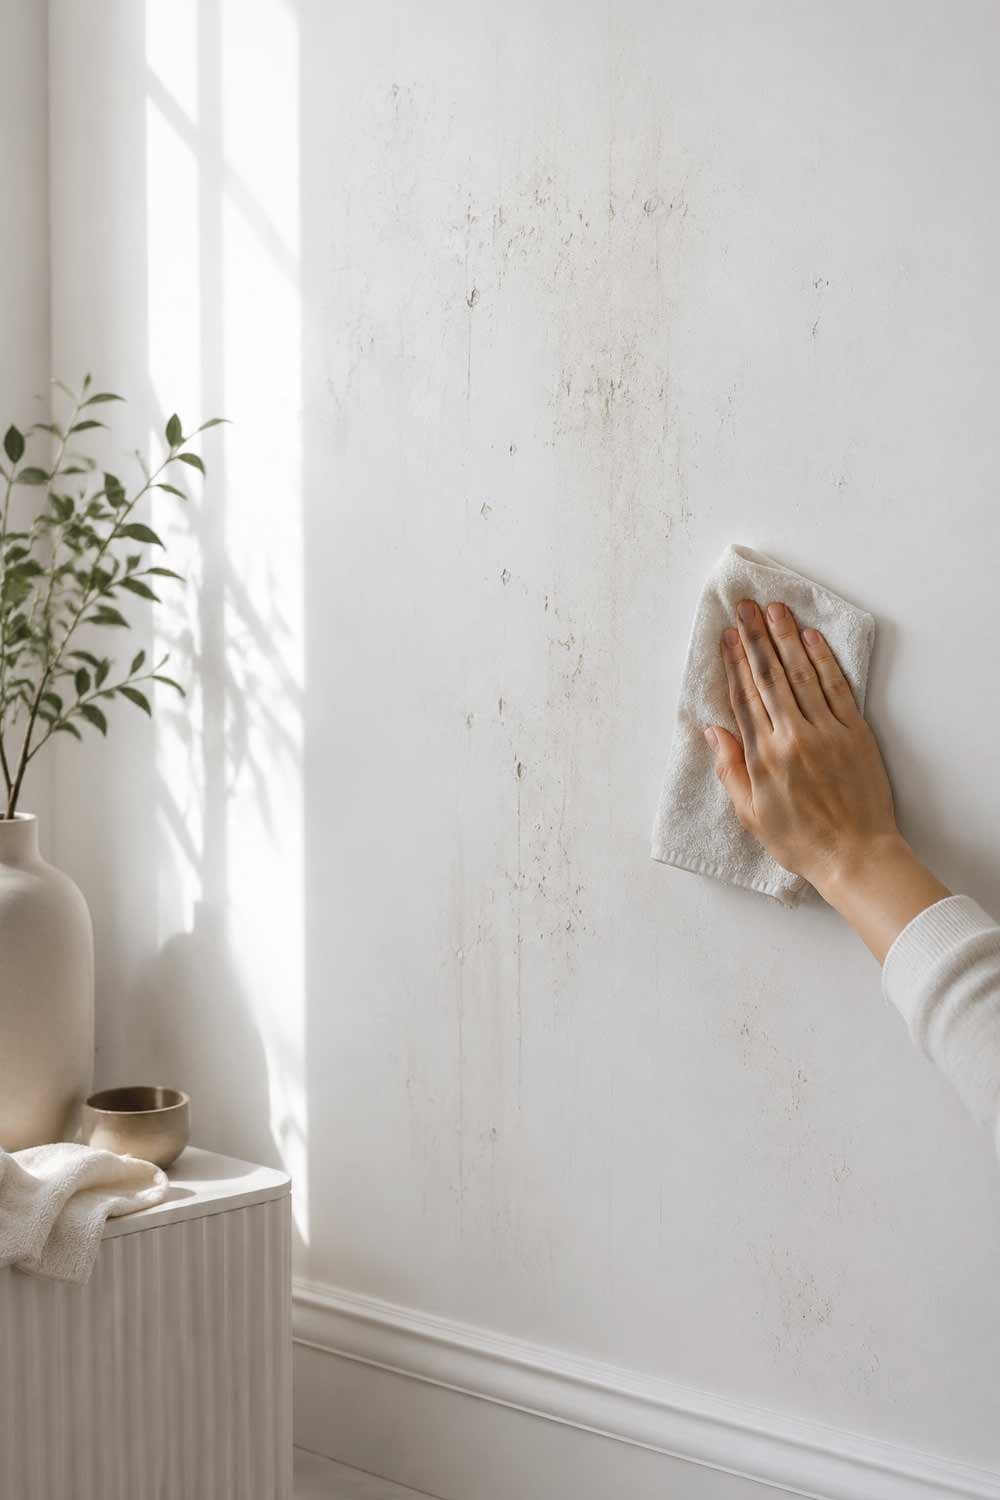
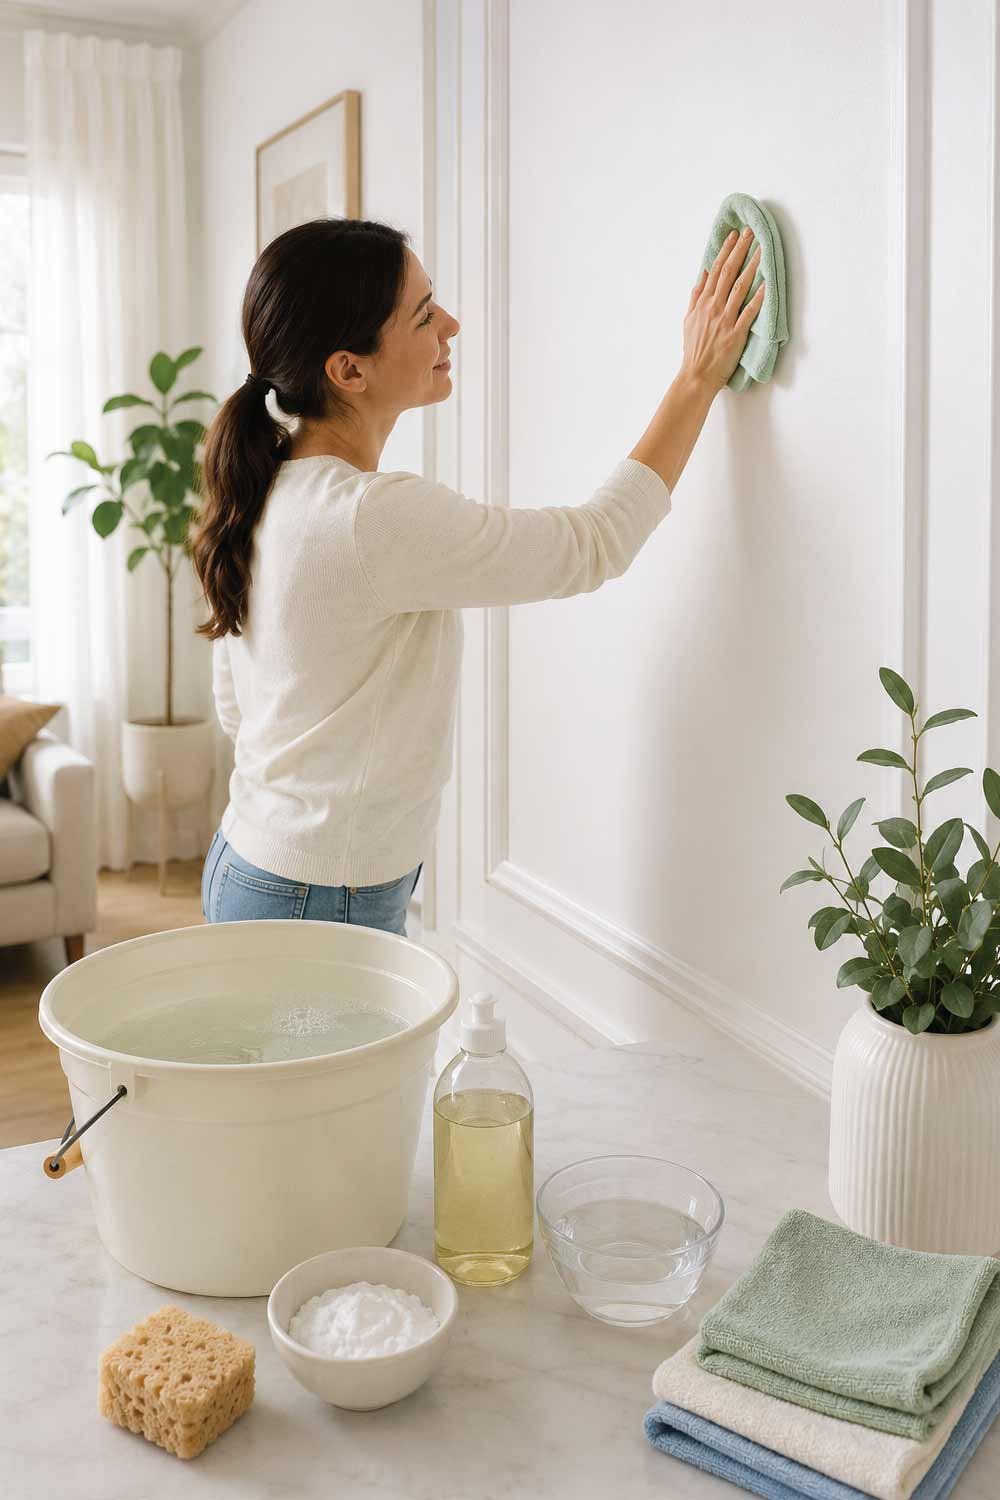
Step 5: Clean the Walls Gently and Strategically
Cleaning white walls properly requires patience and a controlled method rather than aggressive scrubbing, which can damage paint. Working in a structured way helps prevent streaks, uneven patches, and visible wear. The goal is to lift dirt gradually while protecting the paint layer and keeping the finish consistent across the entire surface.
The Correct Technique
- Start at the top and work downward
- Clean in small sections (3–4 feet at a time)
- Use light pressure and circular motions
- Avoid over-scrubbing
Important Tip:
Rinse your cloth frequently in clean water to avoid spreading dirt.
If the wall starts to look shiny or patchy, stop immediately that’s a sign the paint is wearing away.
Step 6: Spot-Clean Common Wall Stains
Different types of stains react differently to cleaning methods, so identifying the source of the mark is important before applying any solution. White walls make stains more visible, so targeted cleaning helps avoid unnecessary scrubbing of the entire surface while ensuring each stain is treated in the safest and most effective way.
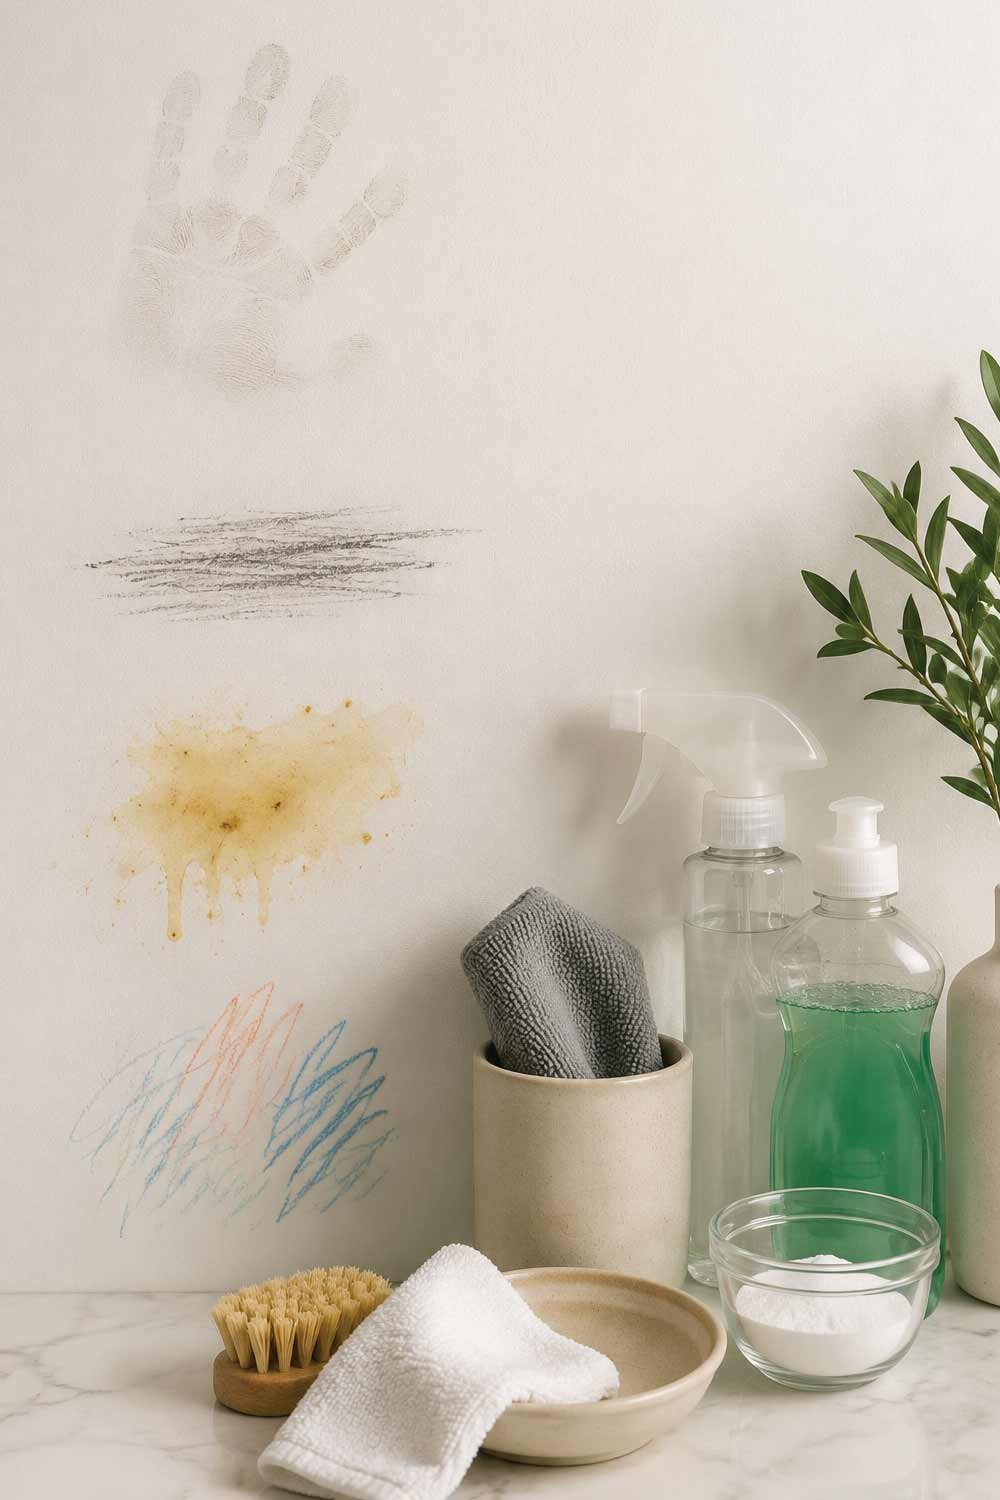
Fingerprints & Smudges
Fingerprints and smudges are common on frequently touched surfaces like glass, painted walls, and appliance doors. They often appear due to natural skin oils, moisture, and everyday handling. Cleaning them promptly helps maintain a neat appearance and prevents buildup that becomes harder to remove over time with simple household cleaning methods.
- Use a damp microfiber cloth
- Add a tiny drop of dish soap if needed
Scuff Marks
Scuff marks usually appear on walls or furniture due to friction from shoes, bags, or moving objects. They can make surfaces look dull or dirty even when overall cleanliness is maintained. Addressing them quickly helps preserve the finish of paint or material and reduces the need for heavy scrubbing later.
- Lightly rub with a damp cloth
- Use a baking soda paste very gently
Grease Stains (Kitchen Walls)
Grease stains on kitchen walls form from cooking oil, steam, and food splatters that settle over time. These stains can become sticky and more visible if not cleaned regularly. Proper cleaning techniques help remove residue without damaging the paint while keeping kitchen surfaces hygienic and visually clean for longer periods.
- Vinegar-water solution
- Blot, don’t scrub
Crayon or Pencil Marks
Crayon or pencil marks often appear on walls, especially in homes with children. These marks can vary in intensity depending on pressure and surface type. While they may seem difficult to remove at first, gentle cleaning methods are usually effective and help restore the wall’s original appearance without causing damage.
- Mild soap solution
- Soft cloth with minimal pressure
Step 7: Use Magic Erasers With Extreme Caution
Magic erasers can be useful for removing stubborn marks, but they should be handled carefully because they act like very fine sandpaper. On delicate paint finishes, especially white walls, they can unintentionally remove paint layers if used too aggressively or too frequently, leading to dull or uneven patches.
Safe Usage Tips:
- Use only on semi-gloss or gloss paint
- Dampen lightly
- Apply minimal pressure
- Use for small areas only
Never use magic erasers on flat or matte finishes they can remove paint instantly.
Step 8: Rinse and Dry Properly
After you finish cleaning the wall, it is important to remove any remaining cleaning solution so the surface does not develop streaks, dull patches, or long-term paint damage. Proper rinsing also ensures the wall maintains an even finish. Drying is equally important because leftover moisture can weaken paint over time and attract new dirt.
After cleaning:
- Wipe the area with a clean, damp cloth (water only)
- Remove any soap residue
- Dry with a soft towel
Leaving moisture behind can cause streaks, water marks, or paint damage.
More Info:
15 Contemporary Living Room Furniture Ideas for a Modern Home
Step 9: Address Yellowing on White Walls
Yellowing on white walls is a common issue that usually develops gradually and can make rooms look older or poorly maintained. It is often caused by environmental factors such as grease, smoke, or aging paint. Treating it early with gentle cleaning methods can improve appearance, but severe discoloration may require repainting.
Yellowing can occur due to:
- Cooking grease
- Smoke
- Poor ventilation
- Aging paint
Cleaning Method:
- Use a vinegar-water solution
- Clean gently in sections
- Rinse and dry thoroughly
If yellowing persists, repainting may be the only long-term solution.
Step 10: Prevent Future Dirt and Damage
Maintaining clean white walls becomes much easier when preventive habits are followed consistently. Instead of waiting for heavy stains to build up, small daily or weekly actions can significantly reduce dirt accumulation. Prevention also helps preserve paint quality, reduces the need for deep cleaning, and keeps walls looking fresh for longer periods.
Prevention Tips
- Wash hands frequently (especially kids)
- Install washable paint in high-traffic areas
- Use wall guards near switches and corners
- Clean small marks immediately
A quick wipe every few weeks prevents deep-set stains.
More Info:
How to Make a Small Home Look Stylish: Clever Tips for Chic Living
Common Mistakes to Avoid
White walls are easy to damage when cleaned incorrectly, and most problems come from using the wrong pressure, chemicals, or timing. Even small mistakes can lead to permanent dull patches or uneven color. Being aware of these errors helps protect the paint finish and keeps walls looking fresh for a longer time.
- Scrubbing too hard
- Using bleach or ammonia
- Over-wetting the wall
- Ignoring paint finish
- Cleaning without dusting first
Avoiding these mistakes can extend the life of your paint by years.
How Often Should You Clean White Walls?
Cleaning frequency depends on how much activity and exposure the walls experience in different areas of the home. Regular light maintenance prevents buildup, while occasional deeper cleaning keeps the surface looking bright and uniform without stressing the paint unnecessarily.
- Light cleaning: Every 1–2 months
- Spot cleaning: As needed
- Deep cleaning: Once or twice a year
High-traffic areas like hallways and kitchens may need more frequent attention.
When Repainting Is the Better Option
In some cases, cleaning alone cannot restore the original look of white walls, especially when the paint has aged or absorbed deep stains. When discoloration becomes permanent or the surface texture has deteriorated, repainting becomes a more practical and effective solution than repeated cleaning.
- Paint is visibly worn or patchy
- Yellowing won’t lift
- Stains have soaked into the paint
- Flat paint has absorbed too much moisture
Using a washable, high-quality white paint can make future cleaning much easier.
Final Thoughts
White walls may be high-maintenance, but they’re worth it. With the right approach gentle cleaners, soft tools, and patience you can clean white walls without removing paint and keep your home looking fresh and bright.
Remember: less pressure, less water, and fewer chemicals lead to better results. Treat your walls kindly, and they’ll reward you with a clean, polished look that lasts.

I am Engineer Hassan, a professional engineer with over 15 years of experience in measurements, design accuracy, and furniture, appliance, and home product sizing. Through Size Helper, I provide research-based guides and trending 2026 home design ideas for living rooms, bedrooms, sofas, wall décor, fashion, and sports—helping users make confident, informed decisions. Every guide is written with real expertise, verified data, and a commitment to quality, usability, and style.