
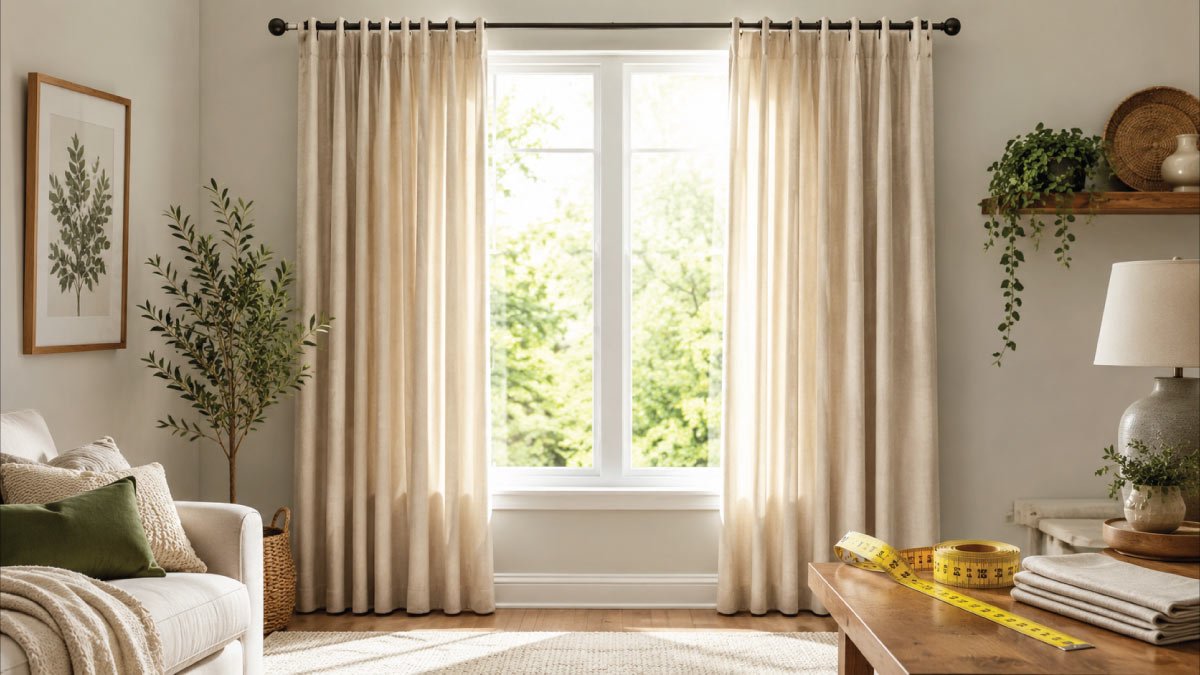
Choosing curtains might seem like a purely decorative decision, but size is what truly determines whether they look elegant and intentional or awkward and out of place. Even expensive fabric can look wrong if the proportions don’t fit your window properly. The good news is that once you understand a few simple principles, picking the best curtain size becomes straightforward.
This guide breaks down everything you need to know about selecting the right curtain width, length, fullness, and placement so your windows look perfectly styled in any room.
Why Curtain Size Matters More Than You Think
Curtains are often seen as a finishing touch, but their size actually has a major impact on how a room looks and feels. When properly sized, they can dramatically enhance the sense of space, light, and style, while also making interiors appear more intentional and professionally designed.
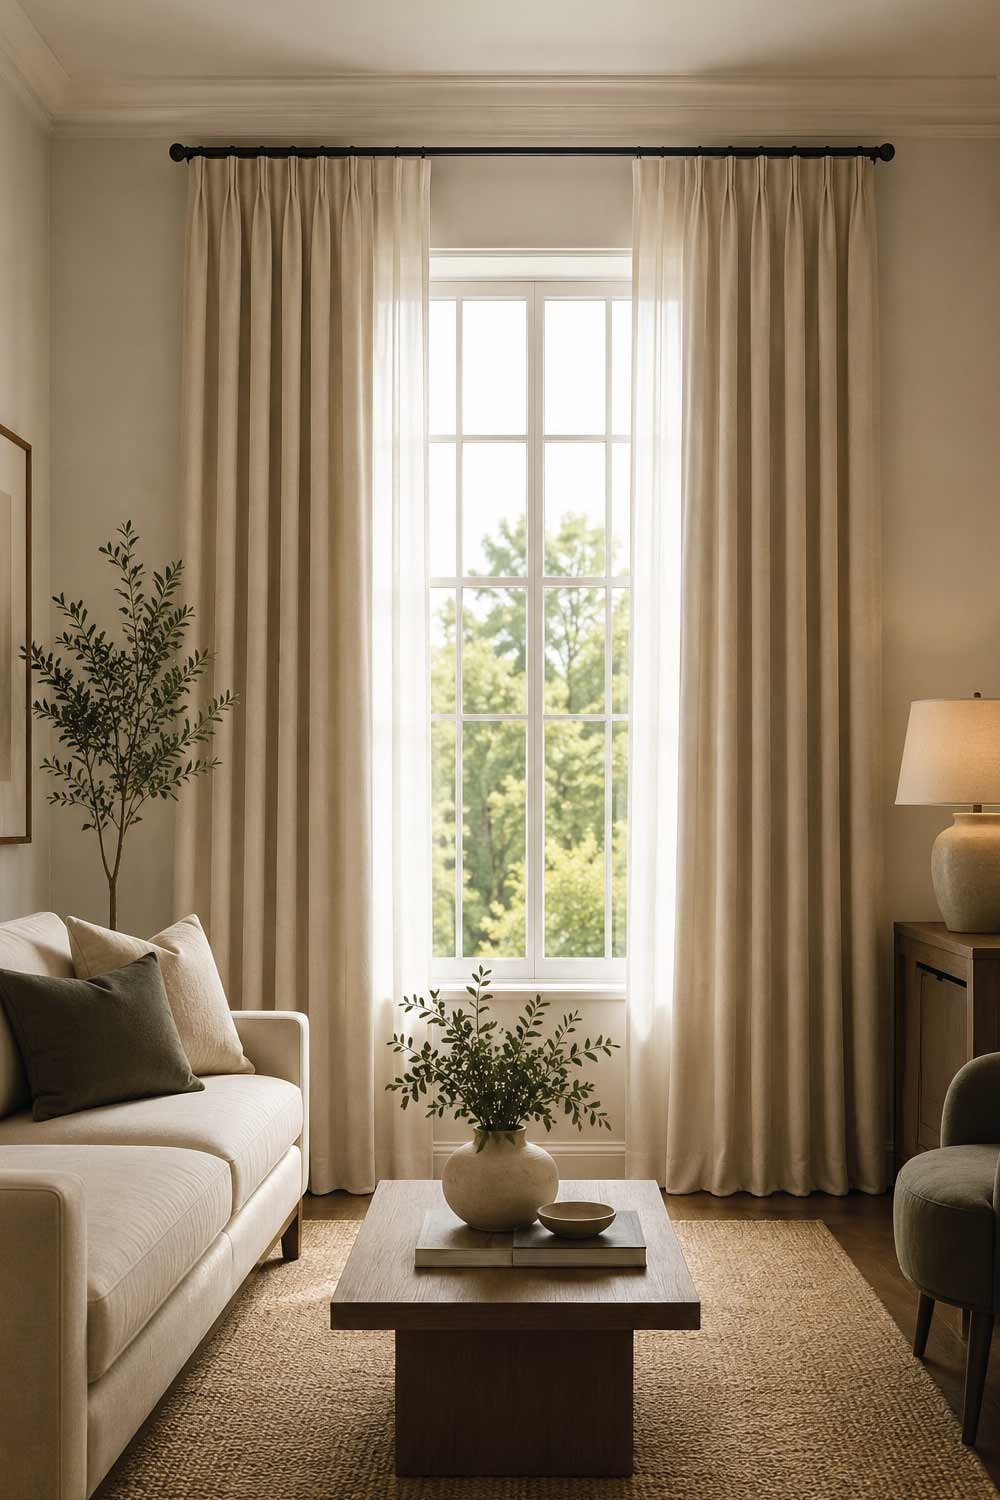
- Make windows look larger than they are
- Add height to low ceilings
- Improve light control and privacy
- Create a balanced, designer look
- Prevent the “cheap or unfinished” appearance
On the other hand, poorly sized curtains can make even a well-decorated room feel cramped or visually off-balance.
Step 1: Start with Your Window Measurements
Before choosing fabric, color, or style, accurate measurement is essential because everything else depends on it. Knowing the exact size of your window ensures your curtains will fit properly and function as intended without looking too short, narrow, or overwhelming for the space.
- Window width (frame to frame)
- Window height (top frame to sill or floor, depending on design)
But here’s the key detail many people miss: curtain size is not the same as window size. Curtains are meant to extend beyond the window to create fullness and coverage.
Continue Reading: Armchair Size Guide with Chart: Complete Guide
Step 2: Choosing the Right Curtain Width
Curtain width plays a major role in how elegant and complete your window treatment looks. Wider curtains create a fuller, softer appearance, while narrow ones can look flat or underwhelming. Proper width ensures your curtains drape beautifully and enhance the overall room aesthetic.
The Golden Rule of Curtain Width
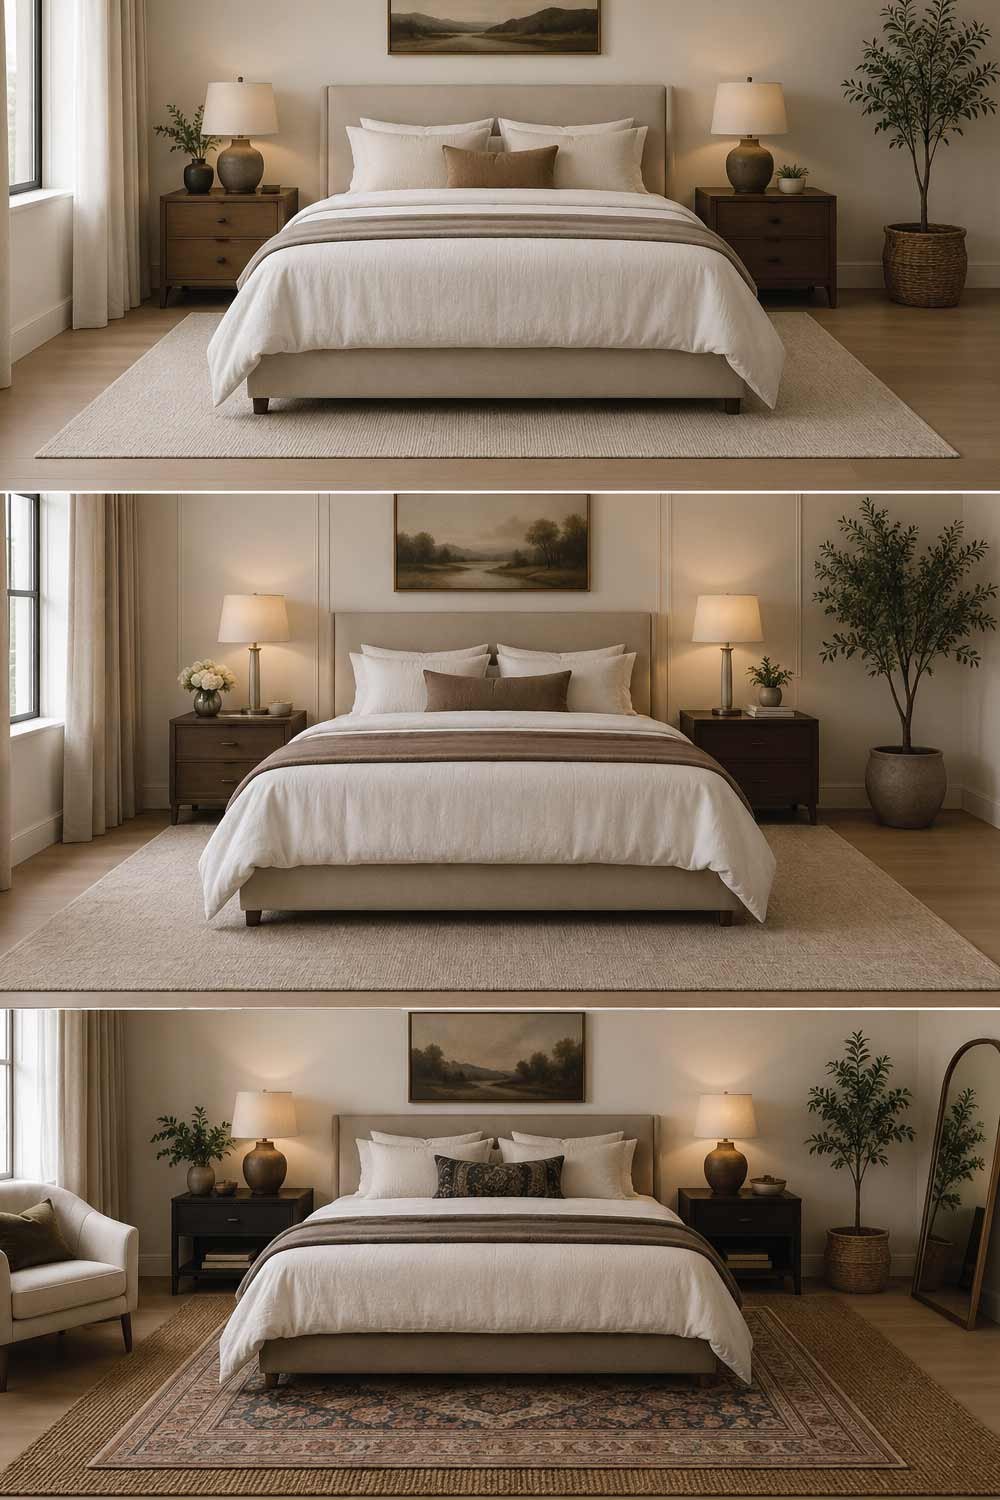
Curtains should always be wider than your window or curtain rod. A good guideline is:
- Minimum fullness: 1.5× window width
- Standard fullness: 2× window width
- Luxury fullness: 2.5× window width
Most interior designers recommend 2× fullness for a balanced, elegant look.
Example Calculation
If your window is 60 inches wide:
- Standard curtain width = 60 × 2 = 120 inches total fabric width
- If using two panels = 60 inches per panel
This ensures the curtains look rich and gathered, not flat or stretched.
Don’t Forget the Curtain Rod Extension
Extending the curtain rod beyond the window frame is a simple but powerful design trick that improves both functionality and appearance. It allows curtains to fully open without blocking the glass and makes the window feel larger and more visually impressive.
- Small windows: 4–6 inches on each side
- Standard windows: 6–10 inches on each side
- Large or dramatic designs: up to 12 inches
This extra space allows curtains to fully clear the glass when open, maximizing natural light.
Continue Reading:
16 Trending Bedroom Ideas for Couples in 2026 (Romantic & Modern Designs)
Step 3: Choosing the Right Curtain Length
Curtain length is one of the most visually powerful design choices because it directly affects how tall, elegant, or casual a room feels. Even a small variation in length can change the entire atmosphere, making the space feel either polished and intentional or slightly awkward and unfinished.
1. Sill-Length Curtains
End right at or just above the window sill, giving a compact and tidy appearance that works especially well in smaller or more functional spaces. This style keeps fabric out of the way, making it ideal for areas where practicality, hygiene, and easy maintenance are top priorities.
- End right at or just above the window sill
- Best for kitchens, bathrooms, or small casual spaces
- Practical and easy to maintain
2. Apron-Length Curtains
Extend about 4–6 inches below the sill, offering a slightly longer and more decorative look without reaching the floor. This length is useful when you want a soft, relaxed feel while still keeping curtains practical and clear of furniture or built-in elements beneath the window.
- Extend about 4–6 inches below the sill
- Good for windows with radiators or furniture underneath
- Offers a relaxed but neat appearance
3. Floor-Length Curtains (Most Popular)
End about ½ inch above the floor, creating a clean vertical line that enhances the height of the room. This is the most widely used style because it works well in most interiors, combining elegance with simplicity while avoiding fabric dragging on the floor.
- End about ½ inch above the floor
- Works in almost all living rooms and bedrooms
- Creates a clean, modern, and elegant look
This is the most recommended option in modern home design.
4. Puddle-Length Curtains
Extend 1–6 inches onto the floor, intentionally allowing fabric to pool for a more dramatic and luxurious visual effect. This style is often used in formal or decorative rooms where aesthetics are prioritized over convenience and everyday practicality.
- Extend 1–6 inches onto the floor
- Creates a dramatic, luxurious effect
- Best for formal spaces or decorative rooms
However, they require more maintenance since fabric collects dust.
Step 4: Ceiling Height Changes Everything
Curtain placement is one of the most powerful design tricks for instantly upgrading a room’s appearance. Even if your curtains are simple or budget-friendly, positioning them correctly can dramatically change how tall, spacious, and stylish the room feels overall.
Instead of hanging curtains directly above the window frame, try:
- Mounting rods 4–6 inches above the window
- Or placing them halfway between the window and ceiling
- Or mounting close to the ceiling for a tall, dramatic effect
This creates the illusion of:
- Taller ceilings
- Larger windows
- A more expensive interior design style
Even standard curtains can look custom-made with this adjustment.
Continue Reading:
Sectional Sofa Size Guide with Chart: Complete Guide
Step 5: Choosing the Right Number of Panels
The number of curtain panels you use plays a key role in both how your windows function and how they look visually. Panels affect fullness, light control, and how smoothly curtains open and close, so choosing the right setup ensures your window treatment feels balanced and practical.
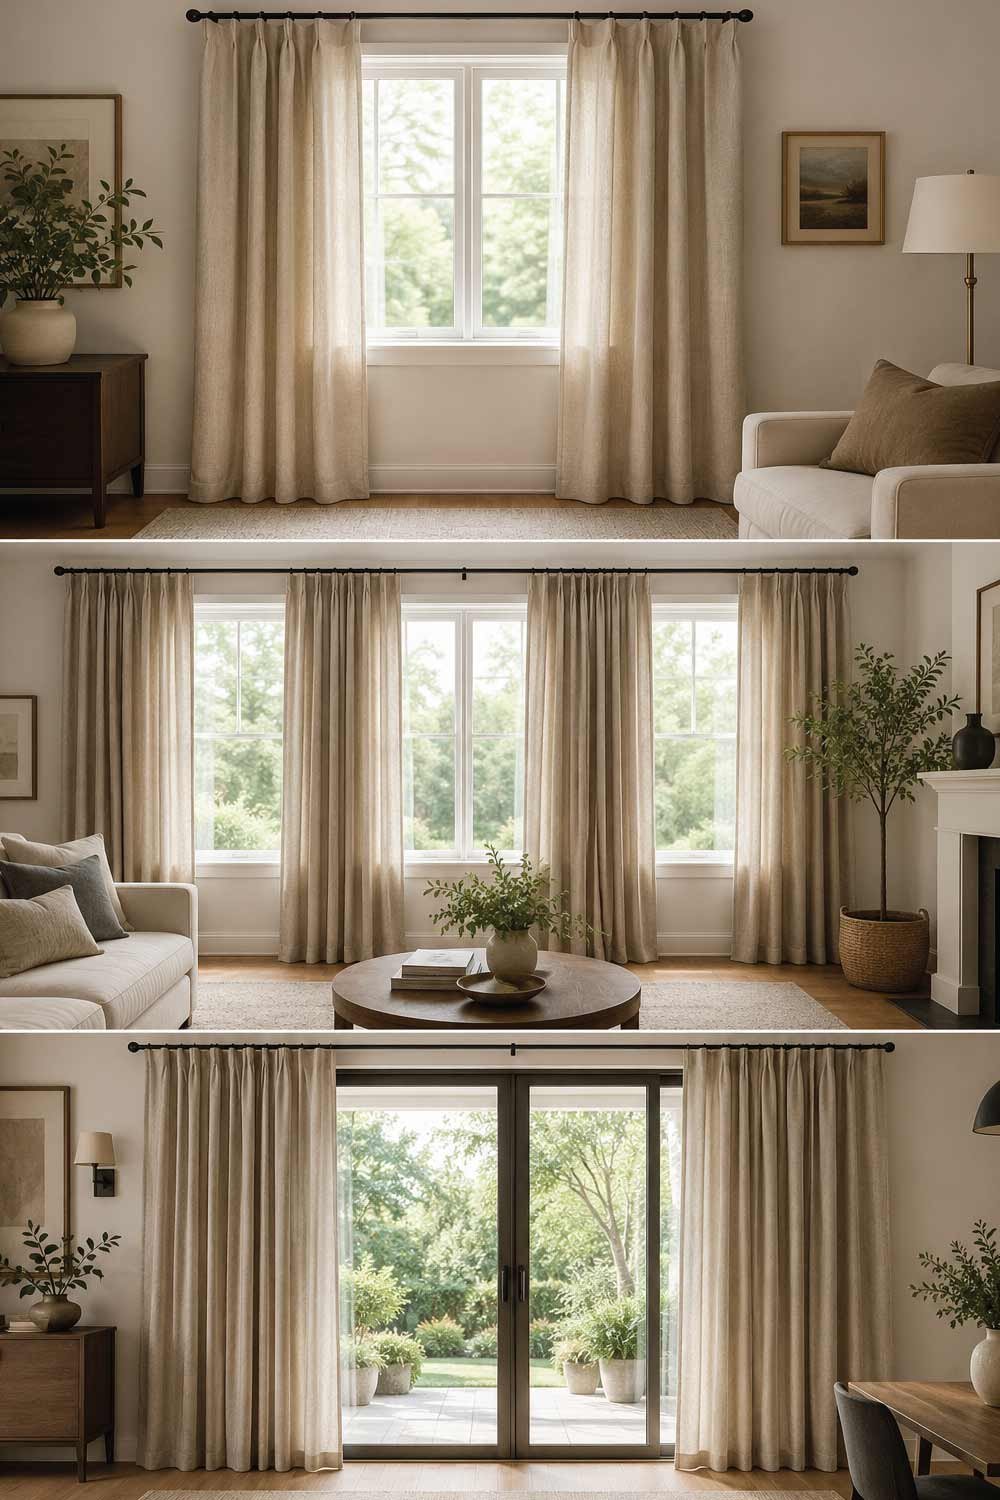
Single Window (Standard Setup)
For most standard-sized windows, a two-panel setup is the most common and practical choice. One panel on each side creates a balanced, symmetrical look while allowing the curtains to open and close easily. This setup also provides enough fabric fullness to frame the window nicely without overwhelming the space.
- 2 panels (one on each side)
Large Windows
Larger windows require more flexibility and fabric coverage to maintain a proportional and elegant appearance. Using 2–4 panels helps distribute the fabric evenly, ensuring smooth movement and a richer, more layered look when the curtains are drawn. This setup also improves light control across wider openings.
- 2–4 panels depending on width
Sliding Doors
Sliding doors need curtains that can move effortlessly without blocking access. A 2–4 wide-panel arrangement works best, allowing sections to be opened or closed as needed while maintaining a clean and functional design. Wide panels also reduce clutter and make daily use more convenient.
- 2–4 wide panels for easy movement
More panels often mean better control of light and a fuller look when closed.
Step 6: Understanding Fabric and Its Effect on Size
Curtain fabric plays a major role in how the final installation looks, because different materials drape, fold, and hold shape in very different ways. Even with identical measurements, fabric choice can make curtains look either airy and soft or heavy and structured, so understanding this helps you achieve the exact visual effect you want.
Lightweight Fabrics (Sheer, Linen)
- Require more fullness (2.5× recommended)
- Hang softly and loosely
- Great for airy, bright rooms
Medium Fabrics (Cotton, Polyester blends)
- Standard 2× fullness works well
- Most versatile option
Heavy Fabrics (Velvet, Thick blackout curtains)
- Can use 1.5× to 2× fullness
- Create a structured, dramatic appearance
Fabric weight influences how “full” curtains look even if measurements are identical.
Continue Reading:
Trending and Perfect Dining Table Sizes for Every Home
Step 7: Inside Mount vs Outside Mount Impact
How you mount your curtains has a direct effect on the final size, appearance, and even the perceived shape of your windows. The same curtains can look completely different depending on whether they sit inside the frame or extend beyond it, so choosing the right mounting style is essential for both function and design balance.
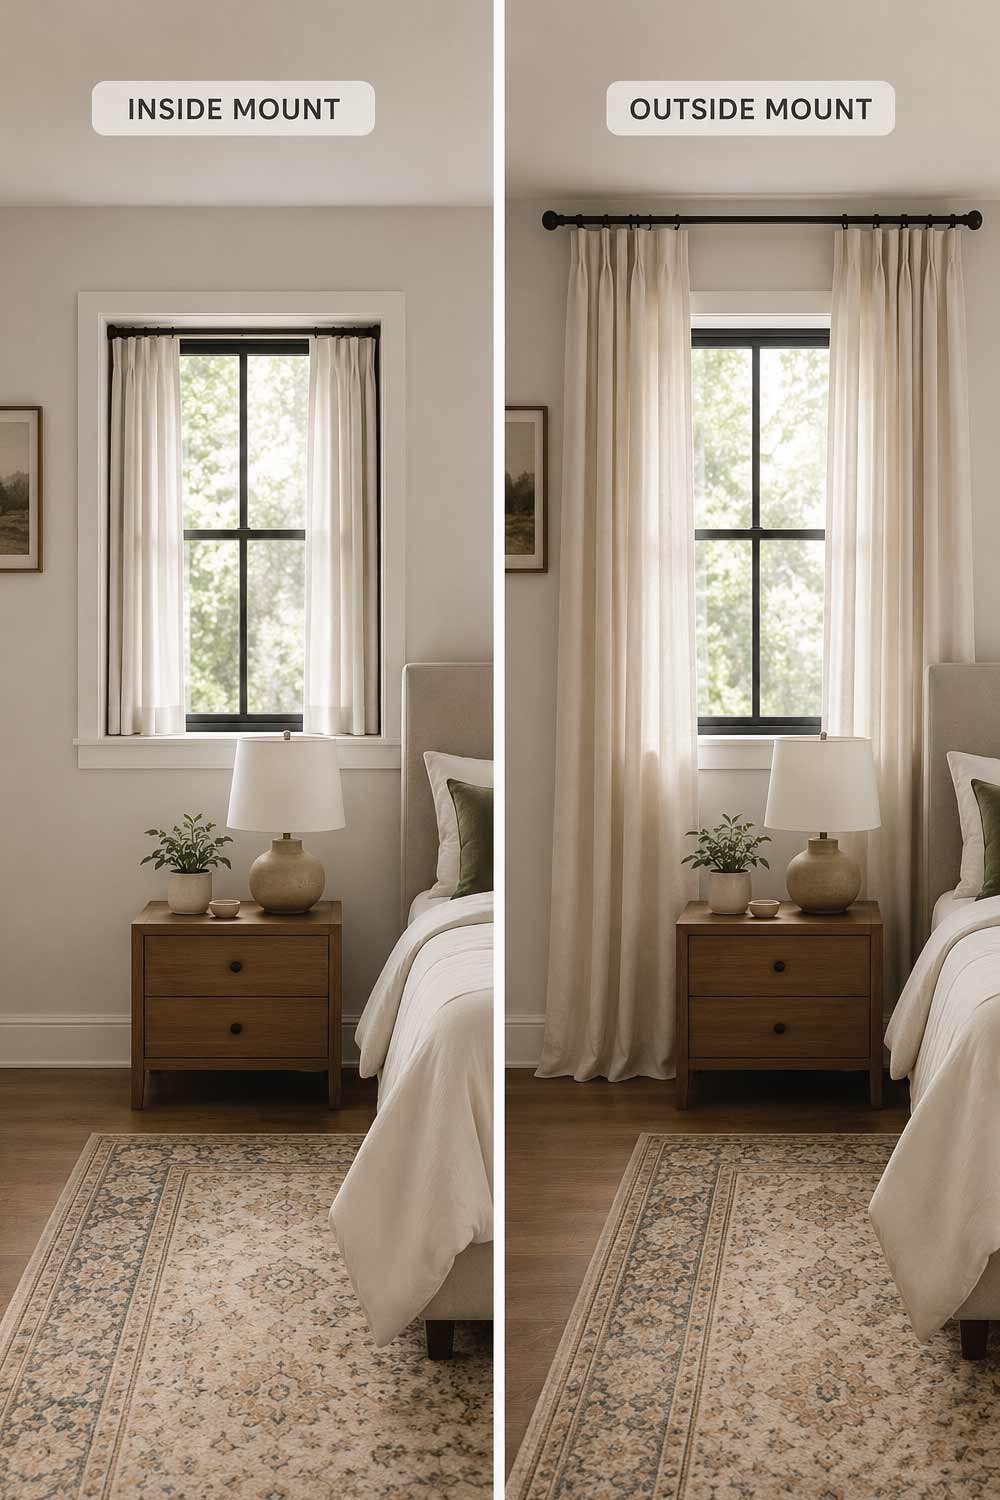
Inside Mount (Inside the Window Frame)
Curtains or shades are fitted neatly within the window frame, creating a clean and compact appearance. This option requires very accurate measurements since even small errors can affect fit and function. It is less commonly used for decorative curtain styles but works well when a simple, built-in, and minimal design is desired.
- Curtains fit within the frame
- Requires precise measurement
- Less common for decorative curtains
- More minimalist look
Outside Mount (Most Common)
Curtains are installed outside and above the window frame, extending beyond the edges for fuller coverage. This approach visually enlarges windows, improves light blocking, and helps conceal any uneven or imperfect window edges. It also allows more flexibility in curtain sizing and styling options.
- Curtains extend beyond the frame
- Makes windows look larger
- Hides uneven window edges
- Allows better light control
Most home interiors use outside mounts because they are more forgiving and visually impactful.
Step 8: Common Curtain Size Mistakes to Avoid
Even when measurements seem accurate, small planning errors can significantly affect how curtains look and function in a room. Avoiding these common mistakes ensures your curtains appear well-fitted, stylish, and professionally installed rather than awkward or unfinished.
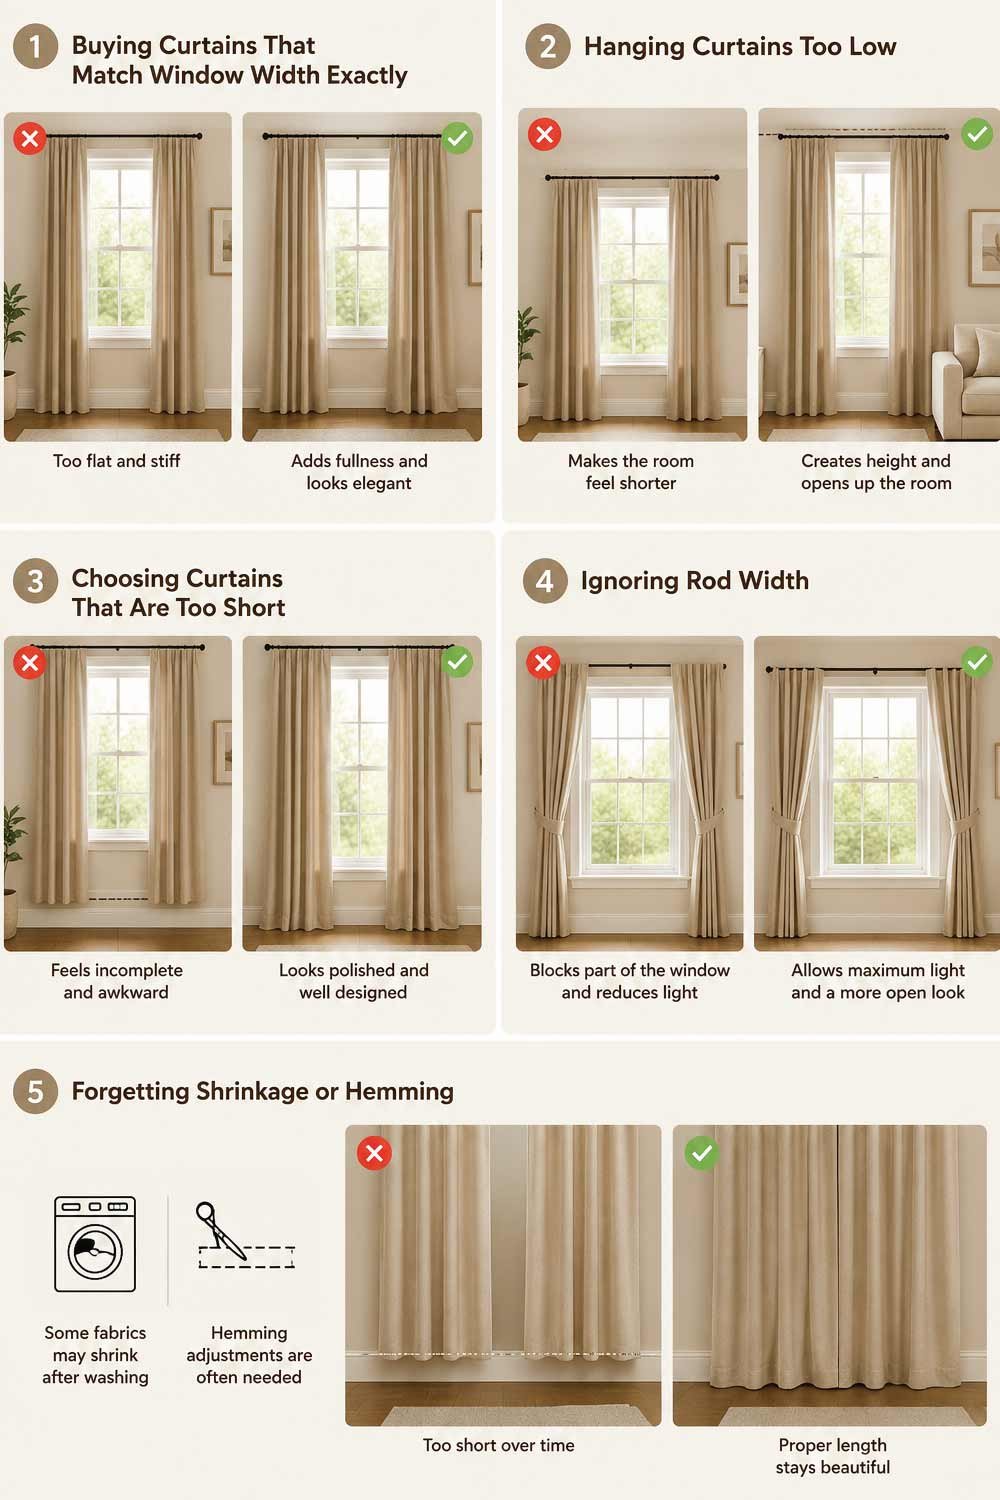
1. Buying Curtains That Match Window Width Exactly
Choosing curtains that are the same width as your window often leads to a flat, stiff appearance with no visual softness. Curtains need extra fabric to form natural folds and create a fuller, more elegant look. Always plan additional width to achieve proper draping and a more finished, designer-style result.
2. Hanging Curtains Too Low
Installing curtain rods too close to the window frame can make the entire room feel shorter and less spacious. Lower placement reduces vertical emphasis, which is important for creating the illusion of height and openness in a space. Raising the rod improves proportions and overall room balance.
3. Choosing Curtains That Are Too Short
Curtains that end above the intended length can make a space feel incomplete or outdated unless used deliberately in specific areas like kitchens or utility rooms. In living spaces, shorter curtains often break visual flow and reduce the sense of elegance and continuity in the design.
4. Ignoring Rod Width
If the curtain rod is too narrow, curtains may block part of the window even when fully open, reducing natural light and making the space feel smaller. Proper rod width ensures curtains stack outside the window frame, keeping the glass clear and maximizing brightness and openness.
5. Forgetting Shrinkage or Hemming
Some fabrics, especially natural ones like cotton or linen, may shrink slightly after washing or require adjustments during hemming. Failing to account for this can result in curtains becoming shorter over time, affecting both appearance and proper floor clearance.
Step 9: Quick Curtain Size Formula
A simple sizing formula can remove guesswork and help you consistently choose curtains that look well-proportioned and professionally styled in almost any room. By combining correct width, length, and rod placement, you can achieve a balanced look that enhances both function and visual appeal.
Width:
Window width × 2 (standard fullness)
Length:
Rod height → floor (minus ½ inch for floating effect)
Rod Placement:
Window top + 4 to 6 inches (minimum)
This formula works for most homes and gives a balanced, professional look.
Step 10: Final Styling Tips for Perfect Curtains
Once the correct size is in place, finishing details play a major role in how polished and intentional your curtains appear. These styling choices help unify the design, improve functionality, and elevate the overall aesthetic of the room.
- Use curtain tiebacks for elegance and light control
- Match curtain color with room accents for harmony
- Layer sheers with blackout curtains for flexibility
- Choose curtain rods that complement room hardware
- Steam or iron curtains for a polished finish
These finishing touches help curtains look intentional rather than accidental.
Final Thoughts
Picking the best curtain size isn’t about guessing it’s about proportion, balance, and a few simple rules. When you choose the correct width, proper length, and thoughtful placement, even budget curtains can look custom-designed.
The key takeaway is this: curtains should always be bigger than the window and hung higher than the frame whenever possible. This creates height, elegance, and a more spacious feel in any room.
Once you understand these basics, you can confidently select curtain sizes that enhance your space and bring your interior design together beautifully.
